After you complete Onboarding and enter the Intent's main interface, you'll see two main tabs: Contacts and Settings.
Contacts
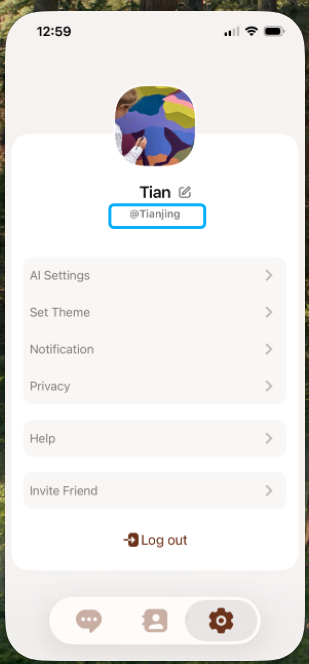
*** Click the "+" icon in the upper right corner of the Contacts menu to search for friends by entering their username (found in Settings -> below their profile picture) or phone number.
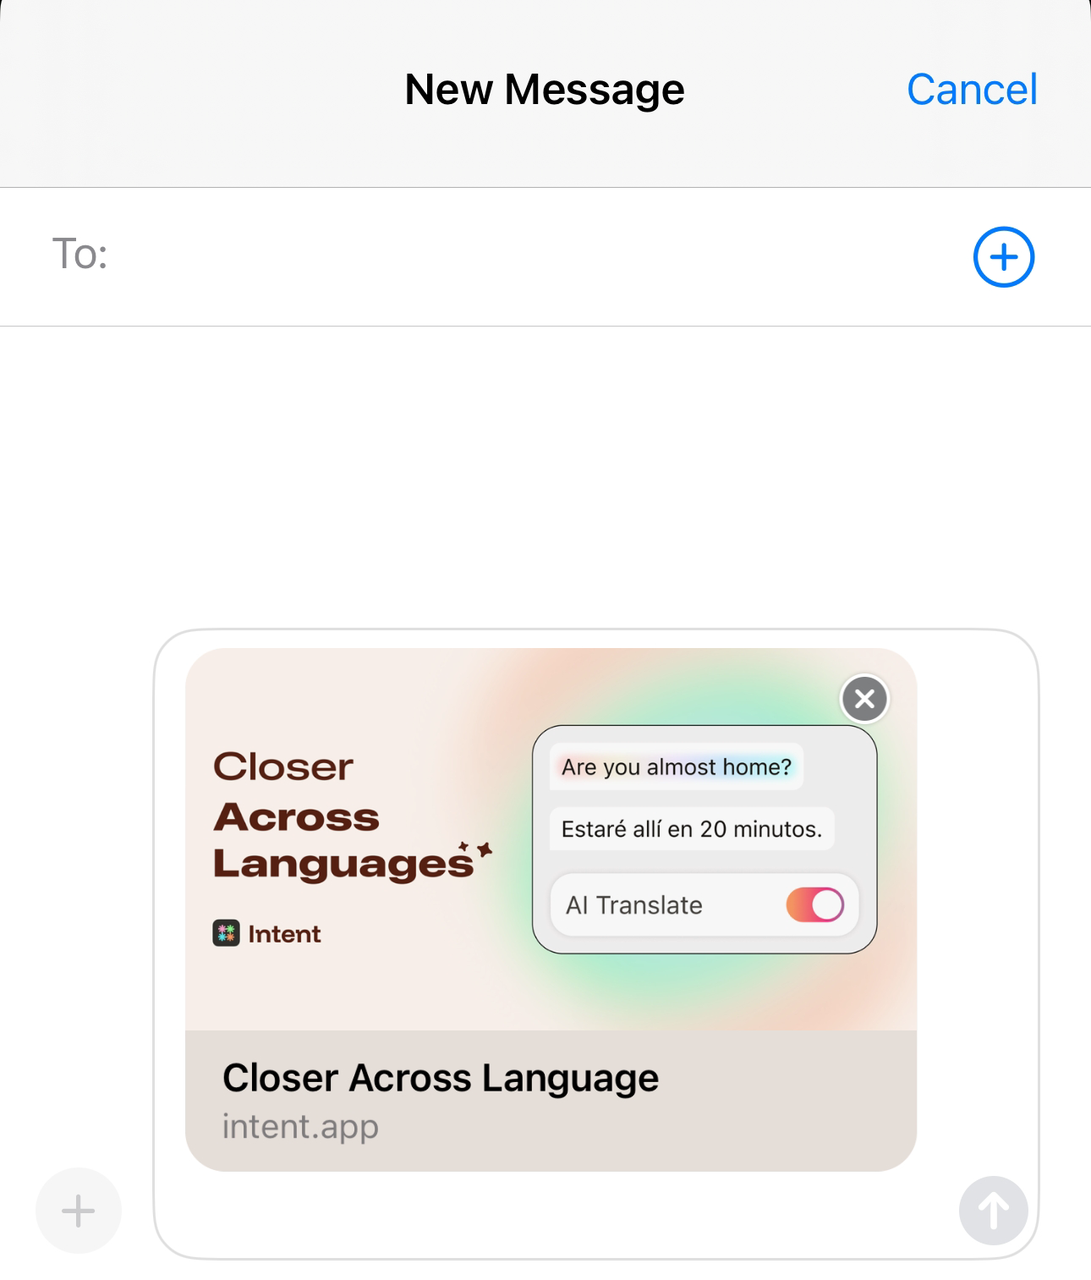
*** You can also click the "invite" icon in the upper right corner to invite friends to join the intent and chat together by sharing a download link.**
Settings
- Click 【Settings - AI Settings】 to see two core functions:
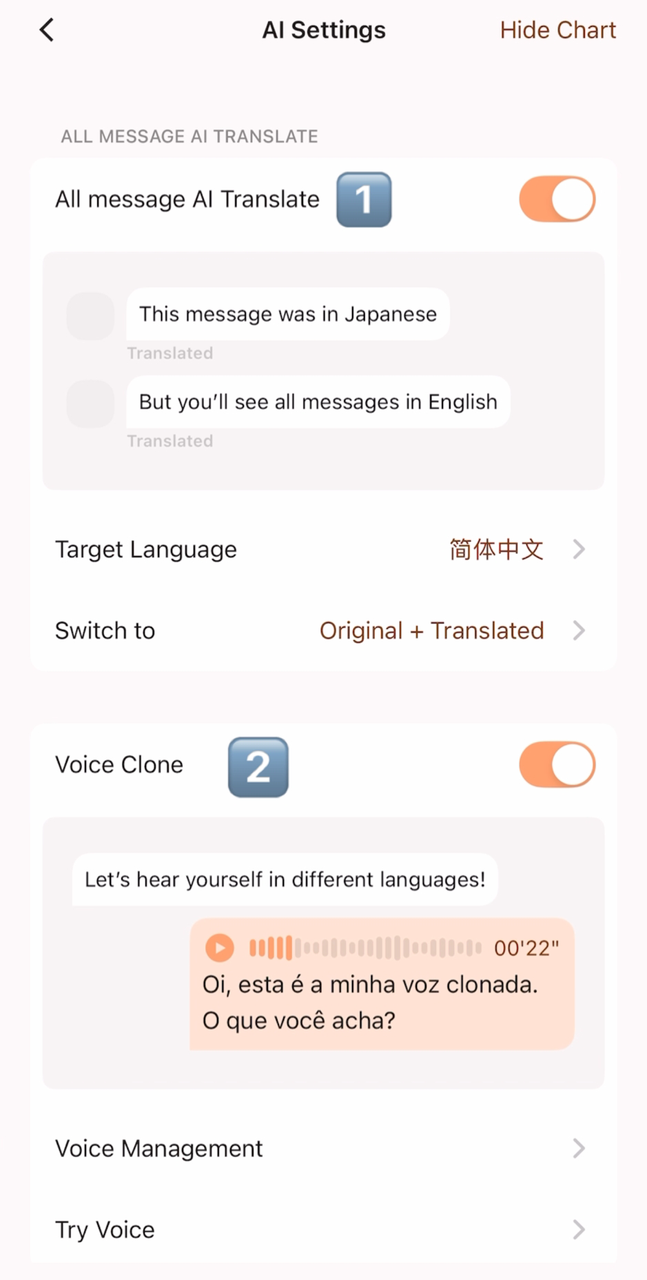
Function ① ALL message AI Translate
 |  |  |
|---|
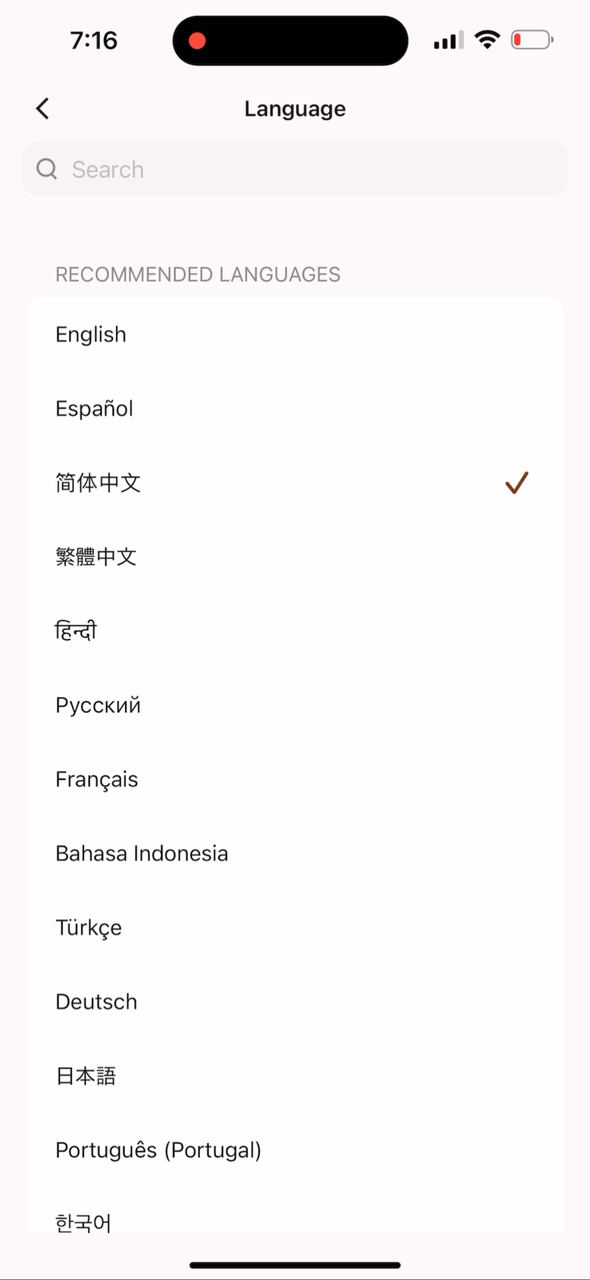
You can select your preferred language in “Target language”. We currently support 60+ languages.
Main Uses
-
Any message sent by the other party in any language will be automatically translated into your selected preferred language and displayed on your screen;
-
Intent currently supports 60+ languages.
How to Use
-
Select the desired language in Target language.
-
After turning on AI translation, all messages from the other party will be automatically displayed in your preferred language.
-
If both parties have this function enabled, they can communicate freely in their native languages without needing to copy and paste through a translator.
Function ② Voice Clone
Main Uses
The voice cloning function allows your voice to be copied into a synthesizable multilingual timbre. After sampling is complete...
-
Speak languages around the world with your own voice: The system automatically converts text into speech in any supported language while maintaining a similar timbre to your own.
-
Express yourself across language barriers: Even if you don't understand the other person's native language, you can still generate speech from text so they can hear you "speaking" their native language.
-
Convey emotions directly with your voice: Compared to text translation, voice communication can more realistically present tone and warmth, making communication more natural and intimate.
How to Use
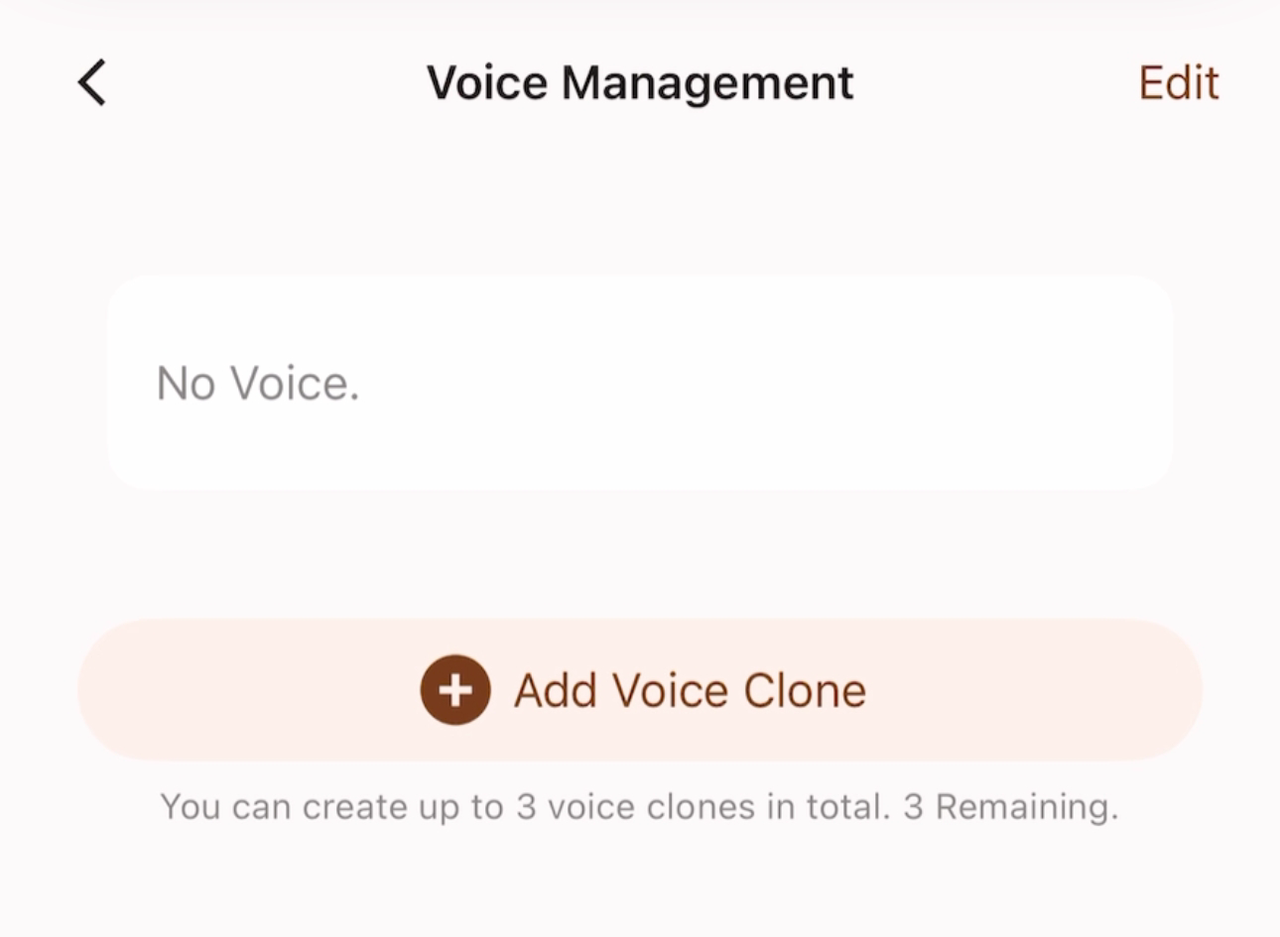
When using the voice cloning function for the first time, you need to click 【Voice Management】 to add your own voice sample.
Once a sample is recorded, it cannot be edited or changed, but it can be deleted and re-recorded. Each account has three independent sample slots.
-
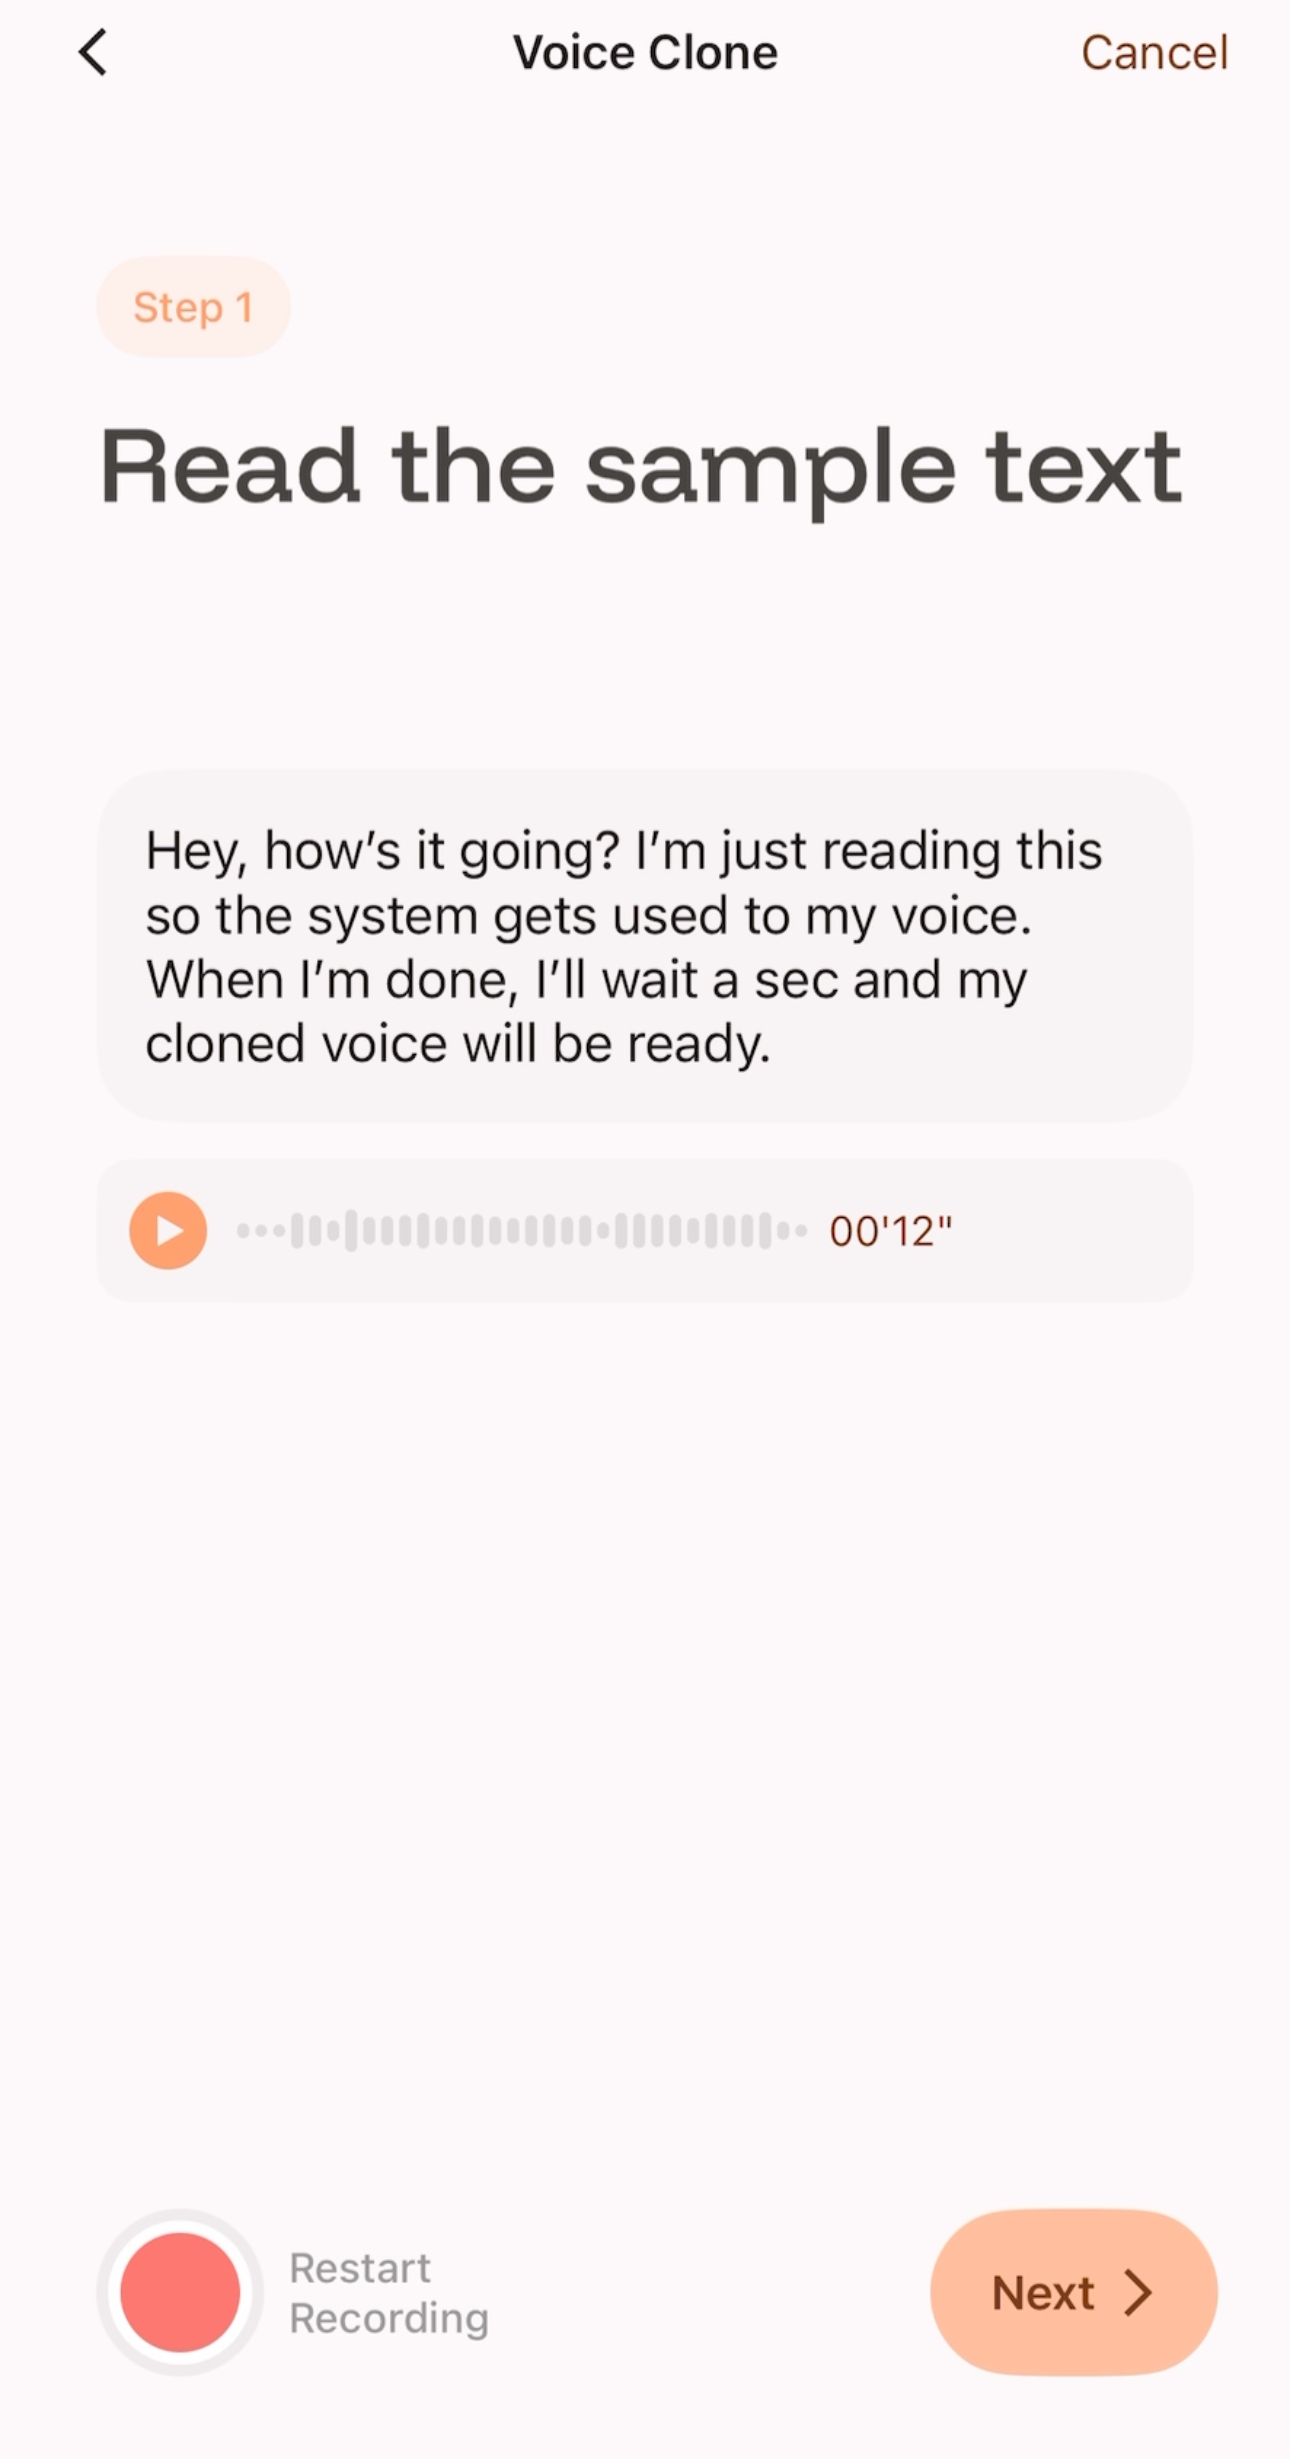
Click “Strat Recording” and read the specified sample text according to the Tips. To ensure the generated clone is clear, stable, and as close to your own voice as possible, it is recommended that the reading time be no less than 8 seconds.
-
After recording, you can listen to your reading voice.
-
If you are not satisfied (e.g., there is noise or unclear pronunciation), you can click Restart to re-record.
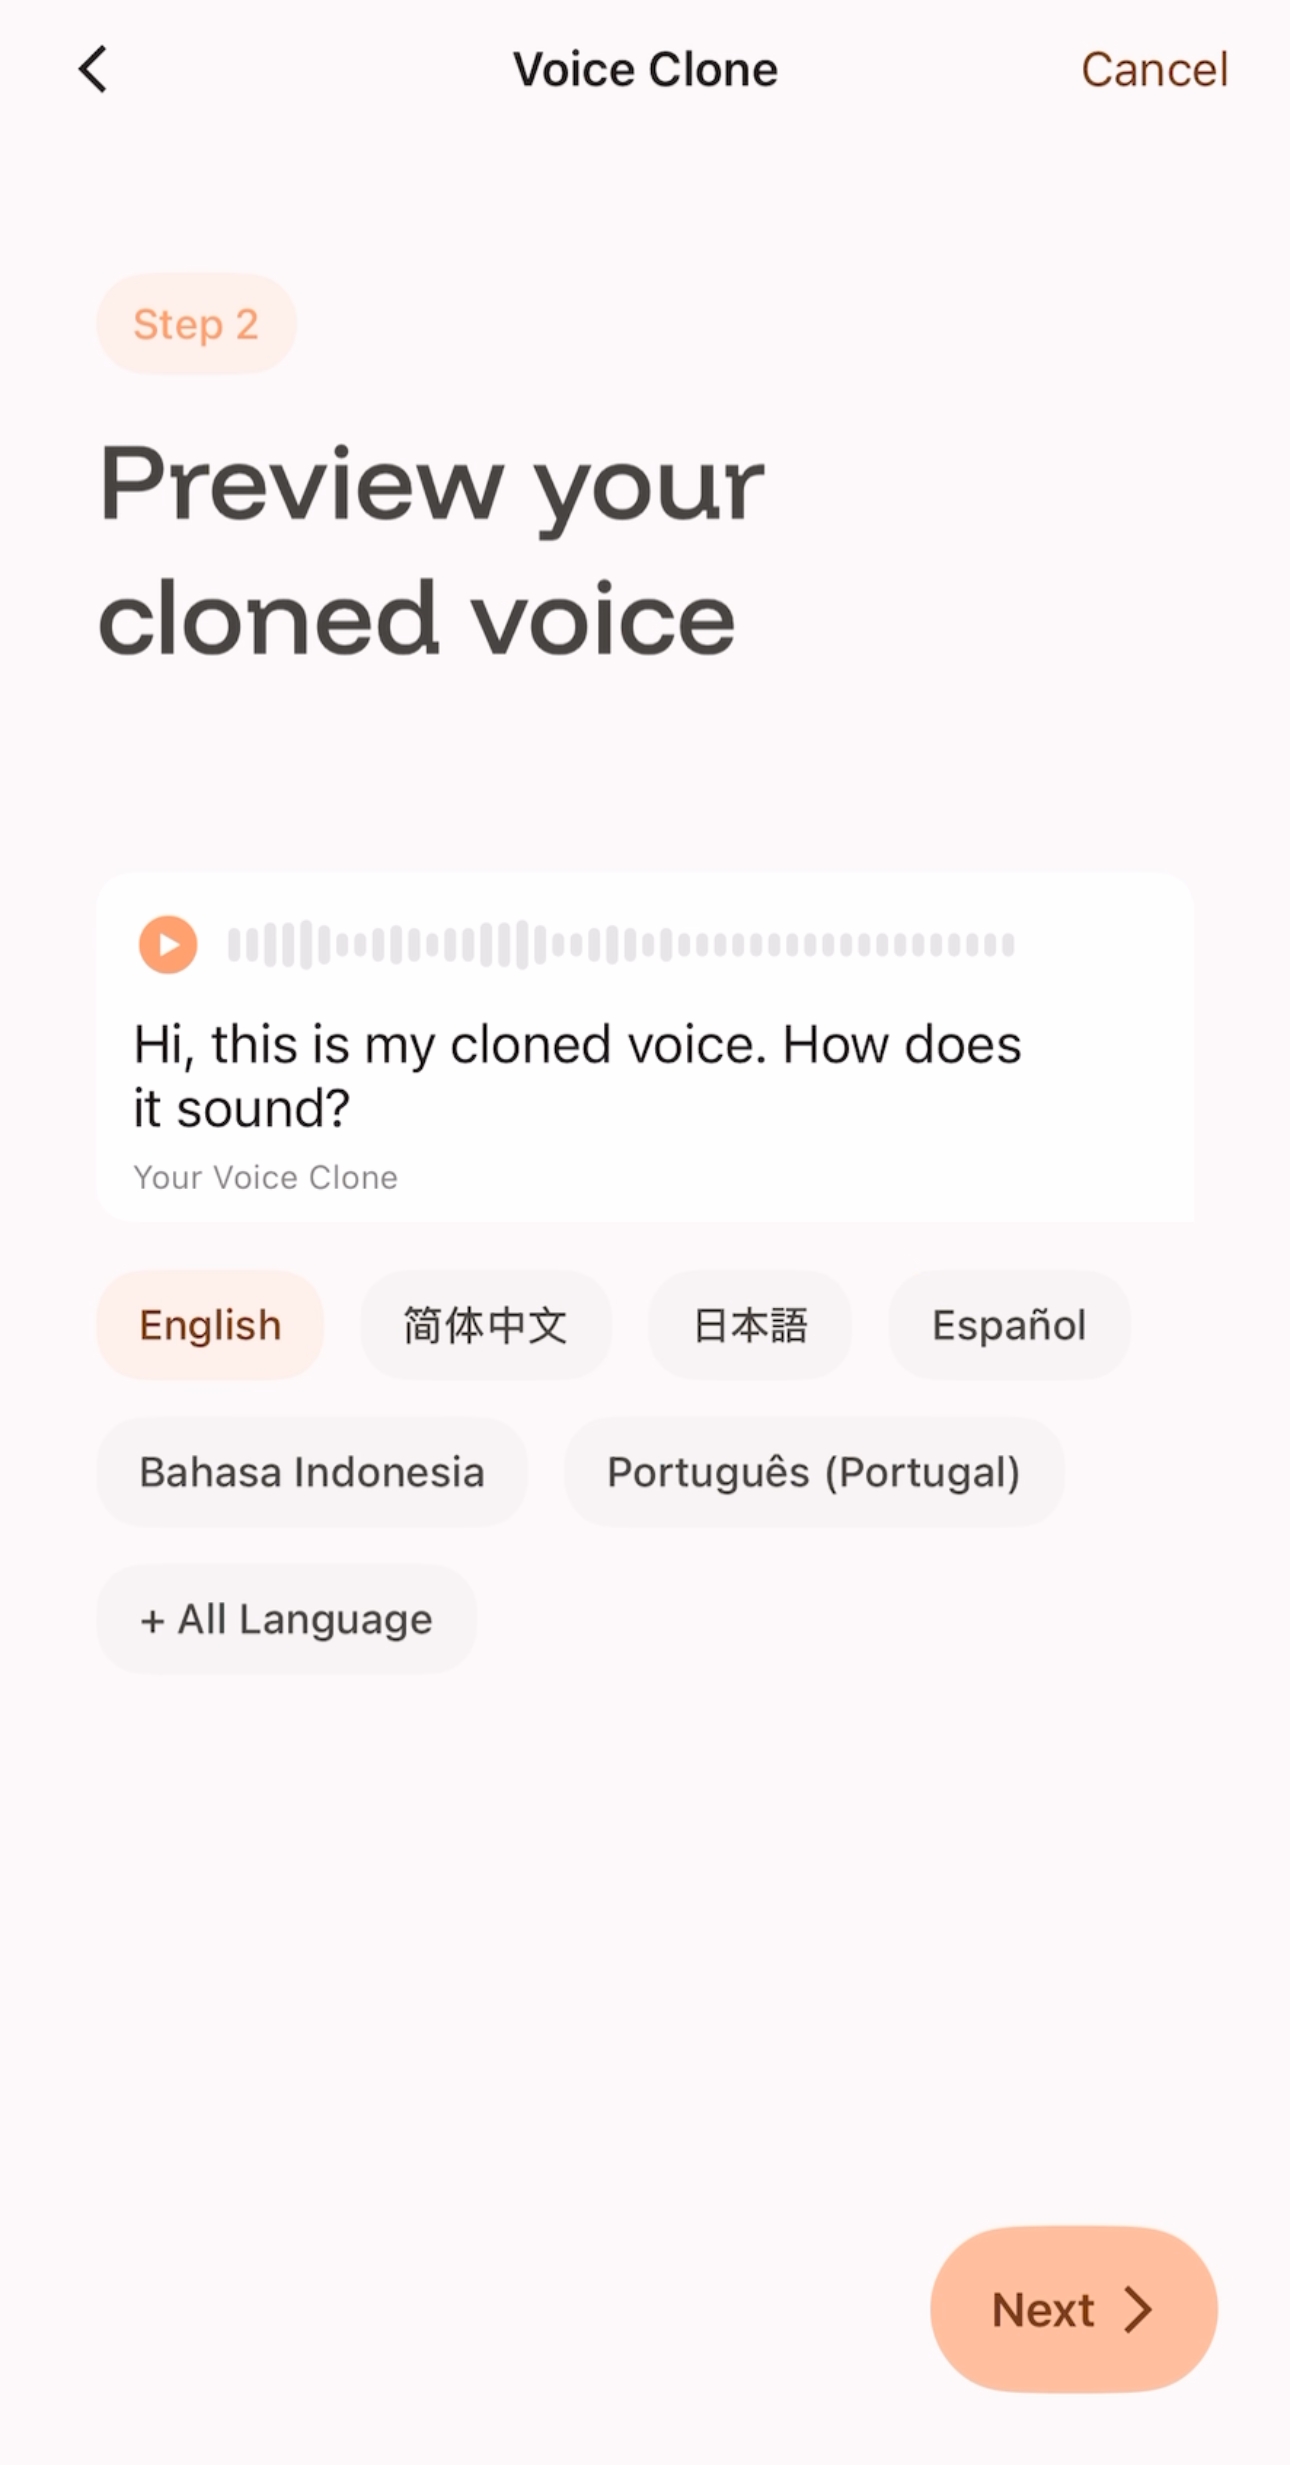
- If you are satisfied with the recorded sample, you can click Next and wait 5-10 seconds on this screen.
 |  |
|---|
-
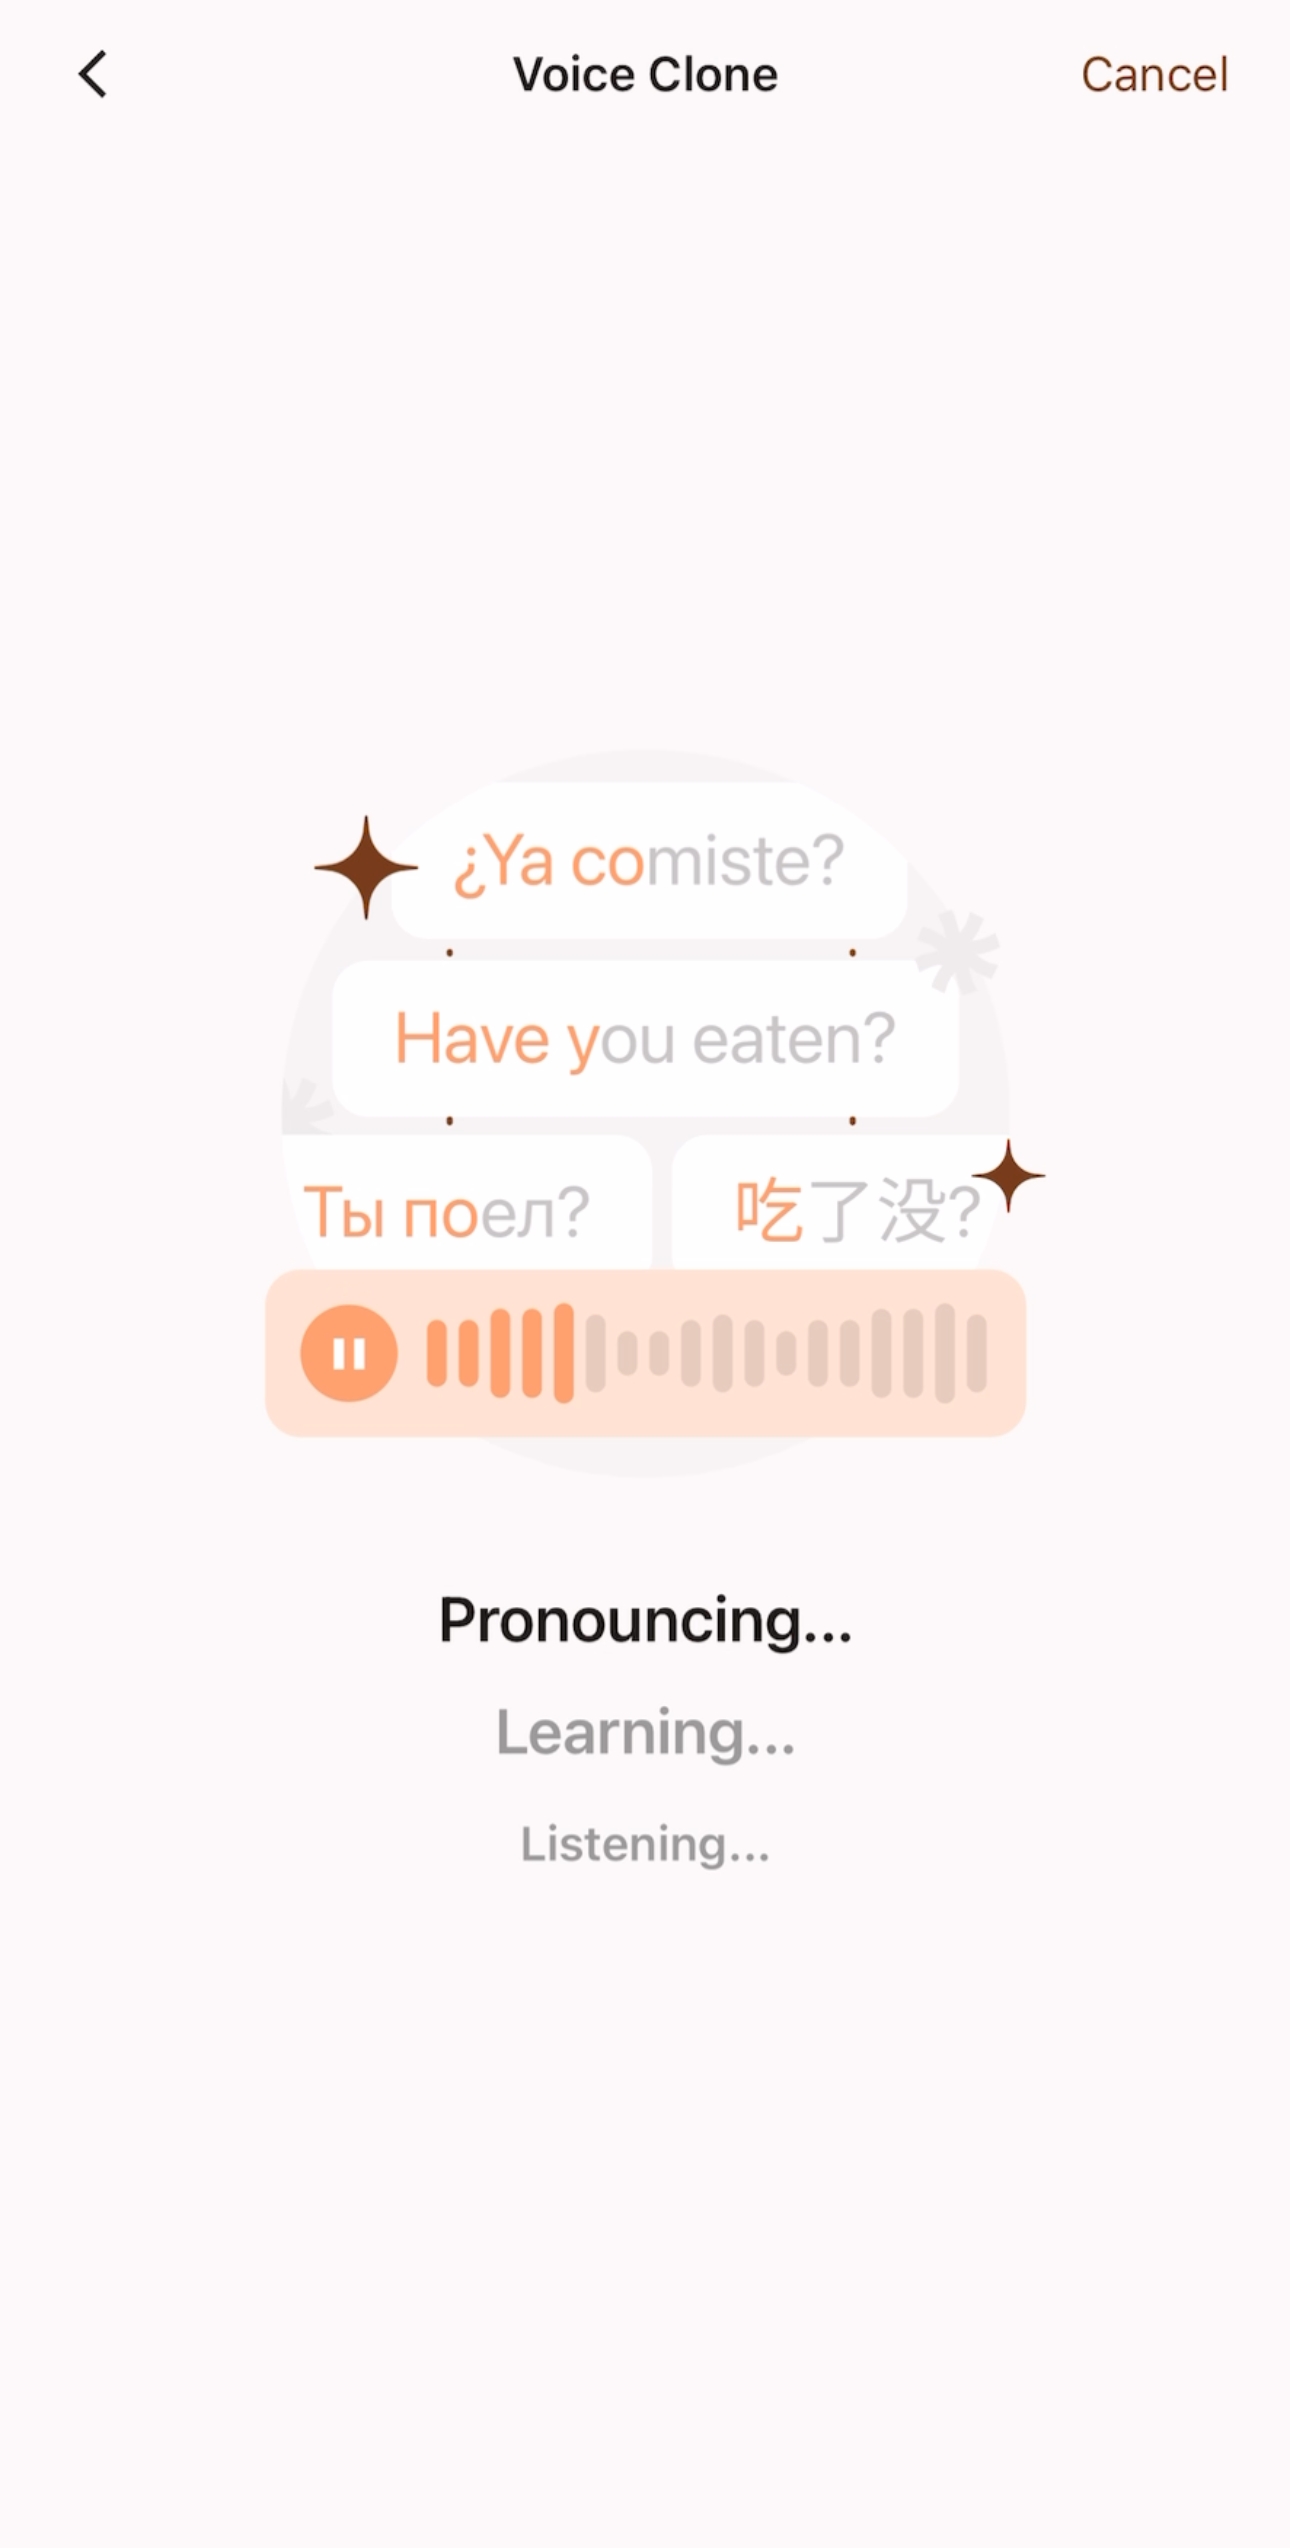
You can listen to the cloned voice reading in other languages on this screen.
-
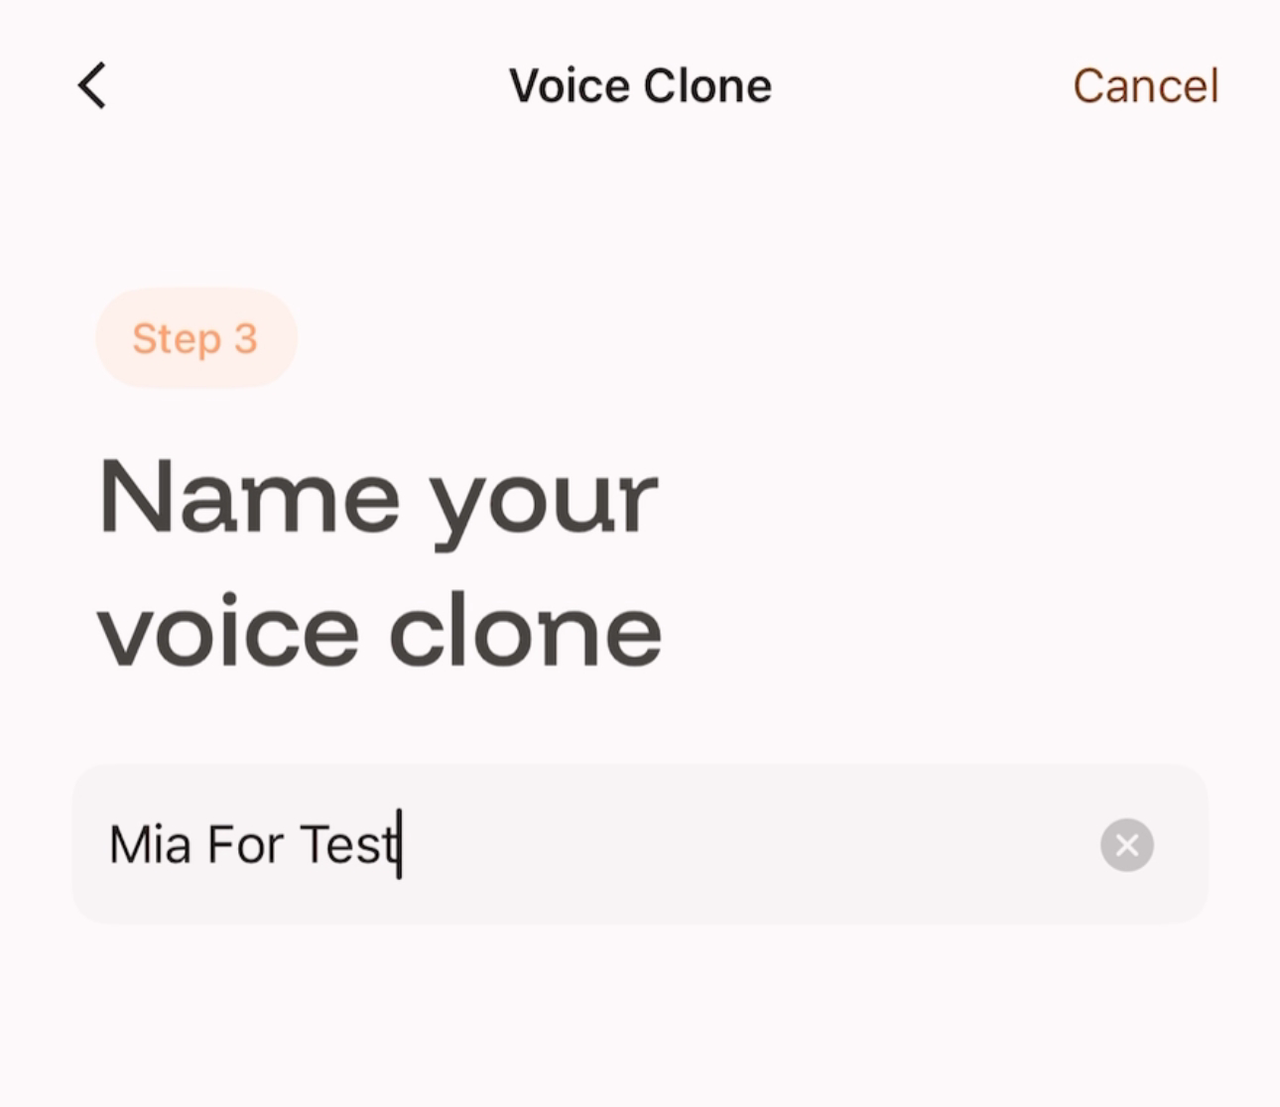
If you confirm the creation of this cloned voice, you can click “Next” to proceed to the next step, name your cloned voice, and then save and use it.
-
如您满意录制好的样本,可以点击Next,并在此界面等待5-10秒;
 |  |
|---|
-
您可以在此界面试听克隆声音使用其他语言朗读的效果;
-
如果您确认创建这条克隆声音,可以点击“Next”进入下一步,为你的克隆声音命名,之后即可保存使用。
 |  |
|---|